How Much Topsoil Do I Need? The Definitive Guide to Calculating, Choosing, and Applying Topsoil for a Thriving Landscape
Every successful garden, lush lawn, or vibrant landscape begins with a solid foundation: healthy soil. And at the heart of healthy soil lies topsoil. It’s the nutrient-rich, uppermost layer of earth that provides the essential environment for plants to flourish. But here’s the crucial question that often stumps even seasoned gardeners and landscapers: How much topsoil do I actually need?
Underestimating your topsoil requirements can lead to costly delays, multiple trips to the supplier, and an uneven, unhealthy landscape. Conversely, overestimating can result in wasted material, unnecessary expense, and the headache of disposing of excess soil. This comprehensive guide will equip you with the knowledge and tools to accurately calculate your topsoil needs, choose the right type for your project, and apply it like a pro, ensuring your outdoor space thrives.
What is Topsoil?
Topsoil is the outermost layer of soil, typically ranging from 2 to 12 inches deep. It’s a complex mixture of mineral particles (sand, silt, and clay), organic matter (decomposed plant and animal material), water, and air. This rich composition makes it ideal for supporting plant growth, providing essential nutrients, good drainage, and aeration. It’s distinct from subsoil, which lies beneath it and is generally less fertile and more compact.
Why Calculating Topsoil Matters: Avoiding Waste and Ensuring Success
Accurate topsoil calculation is more than just a numbers game; it’s a critical step towards the success and sustainability of your landscaping project. Precision in planning helps you avoid common pitfalls such as under-ordering, which can halt progress, or over-ordering, which leads to unnecessary expenditure and disposal challenges. By understanding exactly how much topsoil you need, you optimize your budget, minimize environmental impact, and lay the groundwork for a truly flourishing outdoor space. It’s about efficiency, economy, and ecological responsibility, all contributing to a healthier, more beautiful environment.
The Core Question: How Much Topsoil Do I Need?
The fundamental principle behind calculating topsoil is surprisingly simple: it all comes down to volume. You need to determine the three-dimensional space your topsoil will occupy. Think of it like filling a box – you need to know its length, width, and height.
The Basic Formula: Length x Width x Depth
For any rectangular or square area, the calculation is straightforward. You multiply the length of the area by its width, and then by the desired depth of the topsoil. However, the key is to ensure all your measurements are in consistent units.
1. Units of Measurement: Feet, Inches, Yards, Meters, Centimeters
While the formula is simple, the units can be a source of confusion. Topsoil is typically sold by the cubic yard or cubic meter. Your measurements might be in feet, inches, or even meters and centimeters. Converting these to a consistent unit before calculation is paramount.
- Feet: Often used for length and width in larger areas.
- Inches: Commonly used for the desired depth of topsoil (e.g., 4 inches for a new lawn).
- Yards: The standard unit for bulk topsoil purchases in many regions (cubic yards).
- Meters & Centimeters: Used in countries that follow the metric system (cubic meters).
2. Conversion Factors: Cubic Feet to Cubic Yards, Cubic Meters to Cubic Yards/Tons
Once you have your measurements, you’ll likely need to convert them to cubic yards or cubic meters. Remember these essential conversion factors:
- 1 cubic yard = 27 cubic feet (3 feet x 3 feet x 3 feet)
- 1 cubic meter ≈ 1.31 cubic yards
- 1 cubic meter ≈ 35.31 cubic feet
When dealing with weight, especially for larger projects, you might encounter topsoil sold by the ton. The weight of topsoil can vary significantly based on its moisture content and composition. As a general rule of thumb:
- 1 cubic yard of dry topsoil ≈ 0.8 to 1.2 tons
- 1 cubic yard of moist topsoil ≈ 1.2 to 1.5 tons
Always confirm the approximate weight per cubic yard with your supplier, as this can impact your delivery and handling plans. This seemingly small detail can save you from unexpected surprises.
Step-by-Step Calculation Guide
Let’s walk through the process with practical examples. This will help demystify the numbers and give you the confidence to tackle your project.
1. For Rectangular/Square Areas
This is the most common scenario. Imagine you’re preparing a new garden bed.
Example: You have a garden bed that is 20 feet long and 10 feet wide, and you want to add 6 inches of topsoil.
Step 1: Convert all measurements to feet.
- Length: 20 feet
- Width: 10 feet
- Depth: 6 inches / 12 inches/foot = 0.5 feet
Step 2: Calculate the volume in cubic feet.
- Volume = Length x Width x Depth
- Volume = 20 ft x 10 ft x 0.5 ft = 100 cubic feet
Step 3: Convert cubic feet to cubic yards.
- Cubic yards = Cubic feet / 27
- Cubic yards = 100 cubic feet / 27 = 3.7 cubic yards
Therefore, you would need approximately 3.7 cubic yards of topsoil for this garden bed. It’s always wise to round up slightly to account for settling and minor inaccuracies.
2. For Irregularly Shaped Areas (Breaking down into simpler shapes)
What if your area isn’t a perfect rectangle? Don’t worry; the solution is to break it down into smaller, manageable geometric shapes. This might involve rectangles, squares, or even triangles.
Example: You have an L-shaped lawn area that needs topsoil.
Step 1: Divide the irregular shape into simpler shapes.
Imagine the L-shape can be divided into two rectangles. Measure each section individually.
- Section A: 15 feet long x 8 feet wide
- Section B: 10 feet long x 6 feet wide (the remaining part of the L)
Step 2: Determine the desired depth and convert to feet.
Let’s say you need 4 inches of topsoil for your lawn.
- Depth: 4 inches / 12 inches/foot = 0.33 feet (approximately)
Step 3: Calculate the volume for each section in cubic feet.
- Volume A = 15 ft x 8 ft x 0.33 ft = 39.6 cubic feet
- Volume B = 10 ft x 6 ft x 0.33 ft = 19.8 cubic feet
Step 4: Add the volumes of all sections to get the total cubic feet.
- Total Volume = Volume A + Volume B
- Total Volume = 39.6 cubic feet + 19.8 cubic feet = 59.4 cubic feet
Step 5: Convert total cubic feet to cubic yards.
- Total Cubic Yards = 59.4 cubic feet / 27 = 2.2 cubic yards
This method allows you to accurately calculate topsoil for even the most complex landscape designs. It simply requires a bit of careful measurement and division.
Practical Topsoil Calculators (Mentioning their utility and limitations)
While manual calculations provide a deep understanding, online topsoil calculators can be incredibly convenient, especially for quick estimates. Many landscape supply companies and gardening websites offer these tools. They typically require you to input your length, width, and desired depth, and they instantly provide the estimated cubic yards or tons.
Utility:
- Speed and Convenience: Get instant results without manual conversions.
- Error Reduction: Minimizes calculation errors, especially with complex conversions.
- Supplier Integration: Some calculators are directly linked to supplier inventories, providing real-time pricing.
Limitations:
- Assumptions: Most calculators assume a rectangular or square area. Irregular shapes still require manual breakdown.
- Depth Uniformity: They assume a uniform depth across the entire area, which might not always be the case in real-world scenarios.
- Weight Variability: While some provide tonnage, remember that topsoil weight varies with moisture content.
Always use online calculators as a helpful guide, but understand the underlying principles. This knowledge empowers you to double-check results and make informed decisions, ensuring you get exactly what you need for your project. After all, a calculator is only as good as the information you feed it.
Project-Specific Topsoil Depth Requirements
The ideal depth of topsoil isn’t a one-size-fits-all answer. It largely depends on the specific purpose of your project and the type of plants you intend to grow. Different applications demand varying depths to ensure optimal growth, drainage, and structural integrity. Understanding these nuances is key to a successful outcome.
New Lawn Installation: Seed vs. Sod
Establishing a new lawn, whether from seed or sod, requires a substantial layer of quality topsoil to provide a healthy rooting environment. The depth needed can vary slightly based on your chosen method.
For new lawn installation from seed, a minimum of 4 to 6 inches (10-15 cm) of good quality topsoil is generally recommended. This depth allows grass roots to establish deeply, promoting a resilient and drought-tolerant lawn. If your existing soil is particularly poor or compacted, you might consider going up to 8 inches.
When laying sod, a depth of 4 to 6 inches (10-15 cm) of prepared topsoil is also ideal. While sod comes with its own thin layer of soil, providing a rich, loose base beneath it encourages rapid rooting and better long-term health. Ensure the topsoil is level and firm before laying sod to prevent uneven patches.
Overseeding an Existing Lawn
Overseeding is the process of planting new grass seed directly into an existing lawn to improve its density and appearance. This application requires a much thinner layer of topsoil, often referred to as a topdressing.
For overseeding, a topdressing of 0.25 to 0.5 inches (0.6-1.2 cm) of fine, screened topsoil or a topsoil-compost blend is sufficient. The goal here is not to create a new soil layer but to provide a light covering that protects the new seeds, retains moisture, and offers a small boost of nutrients. Applying too much can smother existing grass.Creating a New Garden Bed
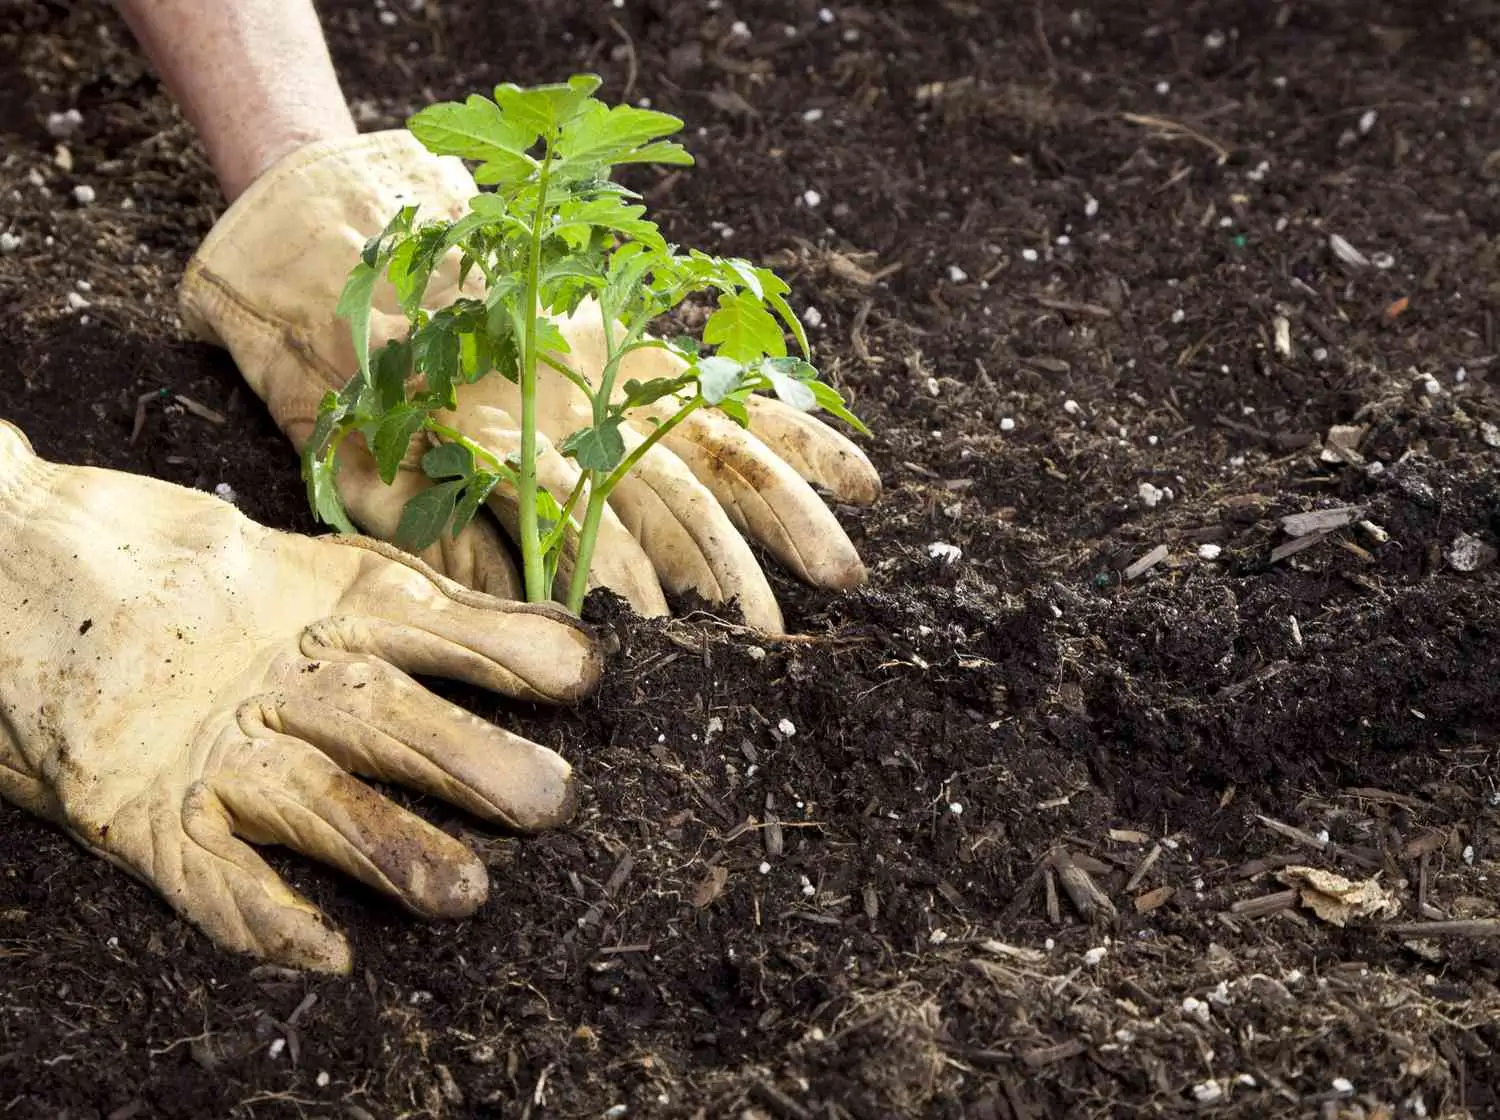
Building a new garden bed from scratch offers the opportunity to create an ideal growing environment tailored to your plants. The depth of topsoil for a garden bed depends on the types of plants you plan to grow.
For general flower beds and shallow-rooted vegetables, a depth of 6 to 12 inches (15-30 cm) of rich topsoil is usually adequate. This provides ample space for root development and nutrient uptake. For deeper-rooted plants like some perennials or root vegetables, consider increasing the depth.
Filling Raised Garden Beds
Raised garden beds are popular for their excellent drainage, warmth, and ease of access. They also allow for precise control over soil quality. The depth of topsoil here is dictated by the height of your raised bed.
Ideally, raised beds should be filled with a minimum of 10 to 12 inches (25-30 cm) of a high-quality topsoil mix, often blended with compost. For very deep-rooted vegetables or if you want to maximize growing potential, filling the bed to its full height (e.g., 18-24 inches) with a suitable soil blend is beneficial. Remember that soil will settle over time, so fill slightly above the desired final level.
Leveling Uneven Areas or Filling Holes
Topsoil is excellent for correcting minor undulations in your lawn or filling small depressions. The depth required here is simply the depth of the unevenness or hole you need to fill.
For leveling uneven areas, apply topsoil in thin layers, typically no more than 0.5 to 1 inch (1.2-2.5 cm) at a time, especially over existing grass. Rake it evenly and allow it to settle before applying more if needed. For filling larger holes or depressions, you can add topsoil in thicker layers, compacting lightly as you go to prevent excessive settling. Ensure good drainage is maintained.
Trees and Shrubs: Proper Planting Depths
When planting trees and shrubs, the focus shifts from a uniform layer to creating an appropriately sized and prepared planting hole. While not a
uniform layer of topsoil, the quality of the soil used to backfill the planting hole is crucial.
For trees and shrubs, the planting hole should be two to three times wider than the root ball, but only as deep as the root ball. The goal is to ensure the top of the root ball is level with or slightly above the surrounding grade. You will backfill the hole with a mixture of the excavated soil and good quality topsoil, often amended with compost. The topsoil provides the necessary nutrients and structure for the roots to expand into the surrounding area. Avoid planting too deep, as this can lead to root rot and other issues.
Beyond Quantity: Choosing the Right Topsoil
Calculating the right amount of topsoil is only half the battle. The quality and type of topsoil you choose are equally, if not more, important for the long-term health and success of your landscape. Not all topsoil is created equal, and selecting the wrong kind can lead to poor drainage, nutrient deficiencies, and stunted plant growth.
Types of Topsoil: Screened, Unscreened, Blended
Understanding the different types of topsoil available will help you make an informed decision for your specific project.
- Unscreened Topsoil: This is raw, excavated soil that has not undergone any processing. It often contains rocks, roots, clumps of clay, and other debris. While it might be the cheapest option, it requires significant effort to prepare and is generally not recommended for planting areas where a fine, consistent texture is desired. It can be suitable for filling large holes or rough grading where aesthetics and fine texture are not critical.
- Screened Topsoil: This is topsoil that has been passed through a large screen or sieve to remove rocks, roots, and other large debris. The screening process results in a more uniform and workable product, making it ideal for lawns, gardens, and general landscaping. The fineness of the screen can vary, so some screened topsoil might still contain small pebbles or fine roots.
- Blended Topsoil: Also known as amended topsoil or garden mix, this type of topsoil is a mixture of screened topsoil and other organic amendments like compost, sand, or peat moss. These blends are formulated to enhance specific soil properties, such as drainage, nutrient content, or water retention. For instance, a sandy loam blend is excellent for drainage, while a topsoil-compost mix is rich in nutrients and organic matter, perfect for vegetable gardens or flower beds. This is often the best choice for planting areas as it provides a balanced and enriched growing medium.
Understanding Topsoil Quality: What to Look For
Even within the categories above, the quality of topsoil can vary significantly from supplier to supplier. Knowing what to look for can save you from future headaches and ensure your plants thrive.
1. Visual Inspection: Color, Texture, Debris
When inspecting topsoil, pay attention to these visual cues:
- Color: Good quality topsoil is typically dark brown or black, indicating a rich organic matter content. Lighter colors might suggest a higher sand or clay content and less organic material.
- Texture: It should have a loose, crumbly texture, not clumpy or overly sandy. When you pick up a handful, it should feel somewhat gritty but also slightly smooth, and it should hold its shape loosely when squeezed but break apart easily. Avoid soil that feels like pure sand, heavy clay, or is excessively sticky.
- Debris: While screened topsoil should be relatively free of large debris, check for excessive amounts of rocks, construction debris, or large root fragments. These can hinder plant growth and make application difficult.
2. Smell Test
Good topsoil should have a fresh, earthy smell. Avoid topsoil that smells sour, like sulfur, or has a strong chemical odor. A sour smell can indicate anaerobic conditions, which are detrimental to plant health.
3. Simple DIY Tests (e.g., Ribbon Test for soil type)
While a professional soil test is always recommended for precise analysis, you can perform some simple DIY tests to get a general idea of your topsoil’s composition:
- The Squeeze Test: Take a handful of moist topsoil and squeeze it firmly. If it forms a ball that crumbles easily when poked, it’s likely a good loam. If it stays in a tight, hard ball, it might have too much clay. If it falls apart immediately, it might be too sandy.
- The Ribbon Test (for texture): Take a small amount of moist soil and roll it between your thumb and forefinger to form a ribbon. If you can form a long, thin ribbon (more than 2 inches), it’s high in clay. If it forms a short, fragile ribbon (less than 1 inch), it’s silty. If it doesn’t form a ribbon at all, it’s mostly sand. A good loam will form a short, sturdy ribbon.
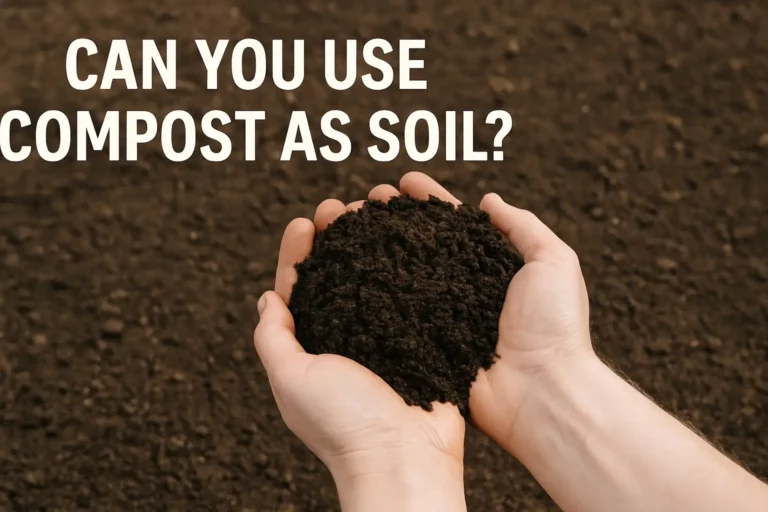
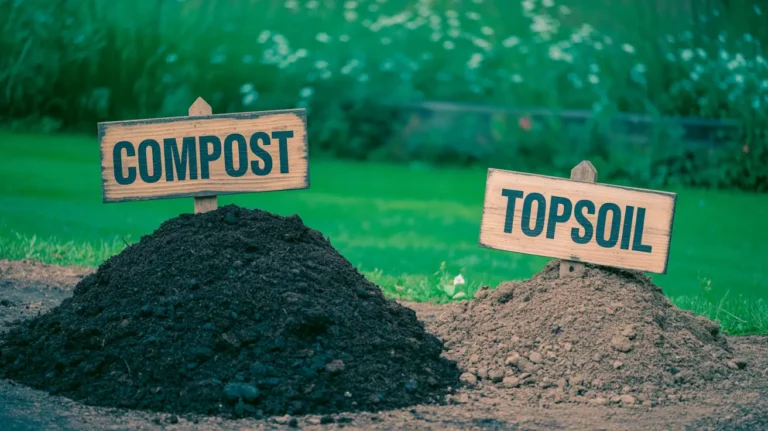
Topsoil vs. Compost vs. Garden Soil: When to Use What
The terms “topsoil,” “compost,” and “garden soil” are often used interchangeably, but they refer to distinct materials with different purposes. Understanding their differences is crucial for making the right choice for your project.
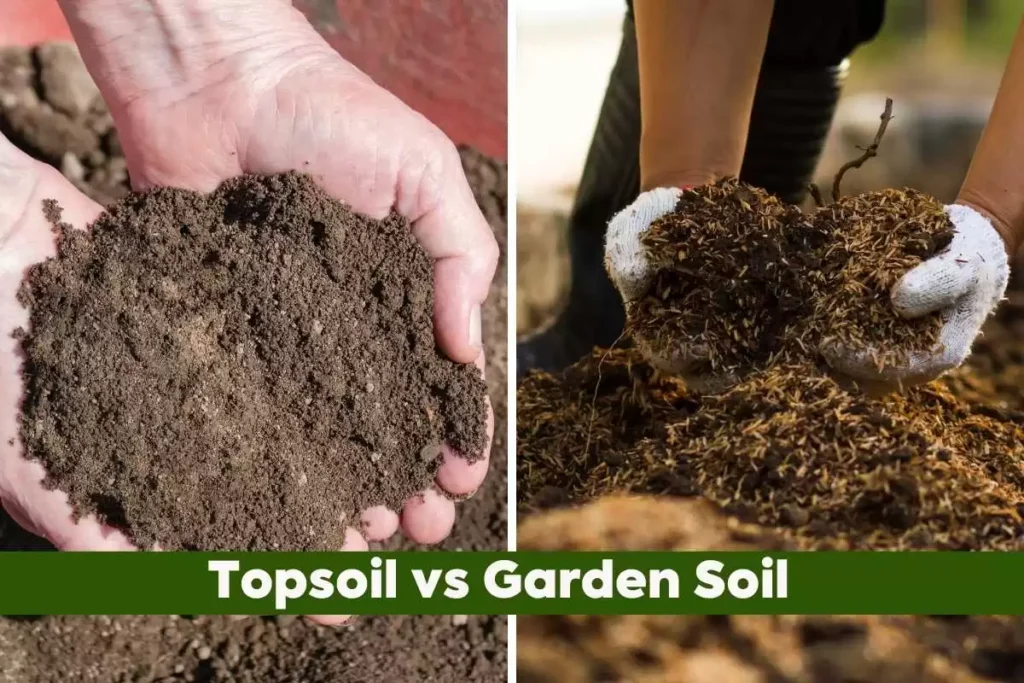
- Topsoil: As discussed, this is the uppermost layer of earth, a natural blend of minerals and organic matter. Its primary function is to provide a base for plant growth and to establish grade.
- Compost: This is decomposed organic material, rich in nutrients and beneficial microorganisms. Compost is an amendment, not a standalone growing medium. It’s used to improve soil structure, fertility, and water retention. It’s excellent for mixing into existing soil or blended topsoil.
- Garden Soil (or Potting Mix): This is a manufactured blend, often containing topsoil, compost, peat moss, perlite, and other ingredients. It’s designed for specific uses, such as container gardening or raised beds, where a lightweight, well-draining, and nutrient-rich medium is required. It’s generally more expensive than bulk topsoil and not suitable for large-scale landscaping.
In most cases, you’ll use topsoil as the primary fill material and then amend it with compost or other specific additives to meet the needs of your plants.
Sourcing Topsoil: Local Suppliers, Landscape Yards, Bagged Options
Where you get your topsoil can significantly impact its quality, cost, and convenience. Your options typically include local landscape supply yards, nurseries, and big-box home improvement stores.
- Local Landscape Supply Yards: These are often the best source for bulk topsoil. They typically offer a variety of screened and blended options, and you can often inspect the product before purchasing. Prices are usually lower per cubic yard than bagged options, and they offer delivery services for larger quantities. Building a relationship with a reputable local supplier can ensure consistent quality.
- Nurseries: Many nurseries also sell topsoil, often in smaller bulk quantities or bags. Their focus is usually on quality for planting, so their topsoil might be more expensive but also of higher quality, often pre-blended for specific uses.
- Big-Box Home Improvement Stores: These stores primarily sell bagged topsoil. While convenient for small projects, bagged topsoil is significantly more expensive per cubic foot than bulk options. The quality can also be inconsistent, and it’s often labeled broadly as “topsoil” without further detail on its composition or source. Always check the ingredients list and supplier information if purchasing bagged topsoil.
Preparing Your Site and Applying Topsoil Like a Pro
Once you’ve calculated your needs and chosen the right topsoil, proper site preparation and application are critical for success. This isn’t just about dumping soil; it’s about creating an optimal environment for your plants.
Site Preparation: Clearing, Grading, and Drainage
Before any topsoil arrives, your site needs to be ready. This involves several key steps:
- Clear the Area: Remove any existing weeds, debris, rocks, or old vegetation. For large areas, consider renting a sod cutter or tiller to make this process easier.
- Address Drainage Issues: If your site has poor drainage, adding topsoil without addressing the underlying problem will only lead to future headaches. Consider installing a French drain or improving the subsoil’s permeability if water consistently pools in the area.
- Rough Grading: If you’re working on a sloped area or need to significantly change the grade, do a rough grade with your existing subsoil first. This ensures you’re not using expensive topsoil for major filling. Aim for a gentle slope away from structures to prevent water accumulation.
- Loosen Existing Soil: For new garden beds or lawns, lightly till or loosen the top few inches of your existing subsoil. This helps create a transition zone between the new topsoil and the old soil, encouraging better root penetration and drainage. Avoid over-tilling, which can destroy soil structure.
Enhancing Existing Soil: When and How to Mix
In many cases, you won’t be replacing all your existing soil. Instead, you’ll be adding topsoil to improve what’s already there. This is where the art of mixing comes in.
If your existing soil is poor (e.g., heavy clay or very sandy), it’s highly beneficial to mix the new topsoil with the top 4-6 inches of your native soil. This creates a gradual transition and prevents a distinct layer that can impede water movement and root growth. Use a tiller or a garden fork to thoroughly blend the two layers. For very poor soils, incorporating compost into this mix will further enhance fertility and structure.
Spreading Topsoil Evenly: Tools and Techniques
Even spreading is crucial for uniform growth and a professional finish. The tools and techniques you use will depend on the size of your project.
- For Small Areas (Garden Beds, Small Patches): A sturdy garden rake, shovel, and wheelbarrow are your best friends. Dump small piles of topsoil and then use the back of the rake to spread it evenly. Work in small sections to maintain control over depth.
- For Large Areas (Lawns, Large Grading Projects): Consider renting a skid steer with a landscape rake attachment or a tractor with a box blade for efficient spreading. For manual spreading, a landscape rake (wider than a garden rake) and a heavy-duty wheelbarrow will speed up the process. You can also use string lines and stakes to mark your desired depth and ensure an even application.
Always aim for a consistent depth across the entire area. Uneven application can lead to patchy growth, especially in lawns, where some areas might dry out faster or have stunted root development.
Compaction: Understanding the Risks and How to Prevent It
Soil compaction is the enemy of healthy plant growth. It reduces pore space, limiting air and water movement, and making it difficult for roots to penetrate. Topsoil, especially when wet, is susceptible to compaction.
- Avoid Working on Wet Soil: Never spread or work on topsoil when it’s saturated. This is the quickest way to cause compaction. Wait until it’s moist but crumbly.
- Minimize Foot Traffic: Once topsoil is spread, try to minimize walking on it. Use planks or boards to distribute your weight if you must walk over newly spread areas.
- Light Compaction (Where Necessary): For new lawns, a very light rolling after spreading and before seeding can help ensure good seed-to-soil contact. However, avoid heavy rollers, which can cause severe compaction.
- Aeration: If compaction does occur, aeration (using a core aerator to remove small plugs of soil) can help alleviate the problem and improve air and water penetration.
Watering After Application
After spreading your topsoil, a thorough watering is essential. This helps settle the soil, eliminates air pockets, and ensures good contact between the new topsoil and any seeds or existing roots. Water gently to avoid washing away the topsoil, especially on slopes. Keep the soil consistently moist, but not waterlogged, until seeds germinate or plants establish.
Cost, Delivery, and Smart Buying Tips
Understanding the financial and logistical aspects of purchasing topsoil can help you manage your budget and ensure a smooth project execution. It’s not just about the price per cubic yard; it’s about the total cost and convenience.
Factors Influencing Topsoil Cost
The price of topsoil can vary significantly based on several factors:
- Quality and Type: Screened topsoil is more expensive than unscreened. Blended topsoils (e.g., with compost or sand) will cost more due to the additional materials and processing.
- Quantity: Buying in bulk (cubic yards) is almost always more cost-effective than buying bagged topsoil, especially for larger projects. The price per cubic yard decreases as the quantity increases.
- Location: Prices vary by region due to local availability, transportation costs, and demand. Urban areas often have higher prices than rural areas.
- Delivery Fees: Delivery is a significant cost factor. Fees are usually based on distance from the supplier and the quantity ordered. Some suppliers might offer free delivery for very large orders or within a certain radius.
- Season: Demand for topsoil can fluctuate with the seasons, potentially impacting prices. Spring and early summer are typically peak seasons.
Bulk vs. Bagged Topsoil: Which is Right for You?
Choosing between bulk and bagged topsoil depends primarily on the size of your project and your budget.
- Bulk Topsoil:
- Pros: More cost-effective for larger projects, higher quality often available, less plastic waste.
- Cons: Requires a large delivery space, can be messy, needs to be spread quickly, requires more manual labor.
- Best for: New lawns, large garden beds, significant grading, filling large holes.
- Bagged Topsoil:
- Pros: Convenient for small projects, easy to transport in a car, less mess, can be stored.
- Cons: Significantly more expensive per cubic foot, quality can be inconsistent, generates plastic waste.
- Best for: Small repairs, patching, container gardening, small topdressing jobs.
For any project requiring more than a few cubic feet of topsoil, bulk delivery is almost always the more economical and practical choice.
Delivery Considerations: Access, Drop-off, and Scheduling
Before ordering bulk topsoil, consider these logistical points:
- Access: Ensure the delivery truck has clear, safe access to your property. Are there narrow driveways, low-hanging branches, or overhead wires? Inform the supplier of any potential obstacles.
- Drop-off Location: Designate a clear, flat, and accessible drop-off spot. This should be as close as possible to your project area to minimize hauling. Consider placing a tarp down to make cleanup easier.
- Scheduling: Schedule your delivery for a time when you are ready to work. Topsoil should ideally be spread within a day or two of delivery, especially if rain is expected, to prevent it from becoming waterlogged or compacted.
Saving Money on Topsoil: Negotiation, Local Sources, DIY Transport
While topsoil is a necessary expense, there are ways to keep costs down:
- Compare Prices: Get quotes from several local landscape supply companies. Prices can vary significantly.
- Ask About Discounts: Some suppliers offer discounts for large orders or for pickup if you have a suitable vehicle (e.g., a pickup truck or trailer).
- Consider Local Sources: Sometimes, construction sites or large excavation projects might have excess topsoil they need to dispose of. While often unscreened, it can be very cheap or even free if you’re willing to haul it and screen it yourself. Always inspect the quality carefully to ensure it’s not contaminated.
- DIY Transport (for small quantities): If you only need a small amount, picking it up yourself can save on delivery fees. Just ensure your vehicle can handle the weight.
Common Topsoil Mistakes to Avoid
Even with the best intentions, mistakes can happen. Being aware of common topsoil pitfalls can save you time, money, and frustration, ensuring your landscaping efforts yield the best possible results.
Underestimating Quantity
This is perhaps the most common mistake. Running out of topsoil mid-project means delays, additional delivery fees, and potentially mismatched soil if your supplier’s batch changes. Always round up your calculations and consider ordering an extra 10-15% to account for settling, uneven areas, and minor miscalculations. It’s better to have a little extra than not enough.
Over-Compacting
As discussed, compaction is detrimental to soil health. Driving heavy machinery over newly spread topsoil, working on wet soil, or excessive foot traffic can all lead to compaction. This reduces aeration, impedes drainage, and makes it difficult for roots to grow. Always work on dry or slightly moist soil, use planks to distribute weight, and avoid unnecessary heavy equipment.
Ignoring Drainage
Adding new topsoil on top of an area with poor drainage will only exacerbate the problem. The new topsoil will become waterlogged, leading to root rot, fungal diseases, and a generally unhealthy environment for plants. Always assess and address underlying drainage issues before applying topsoil. This might involve improving subsoil permeability or installing drainage systems.
Choosing the Wrong Type of Topsoil
Using unscreened topsoil for a fine lawn or a heavy clay topsoil for a raised bed designed for vegetables will lead to disappointing results. Understand the specific needs of your project and choose screened or blended topsoil accordingly. Don’t be swayed by the cheapest option if it doesn’t meet your quality requirements.
Not Preparing the Site Properly
Skipping steps like clearing debris, rough grading, or loosening existing soil can undermine the effectiveness of your new topsoil. A well-prepared base ensures proper integration of the new soil, better drainage, and optimal conditions for plant establishment. Think of it as preparing a canvas before painting a masterpiece.
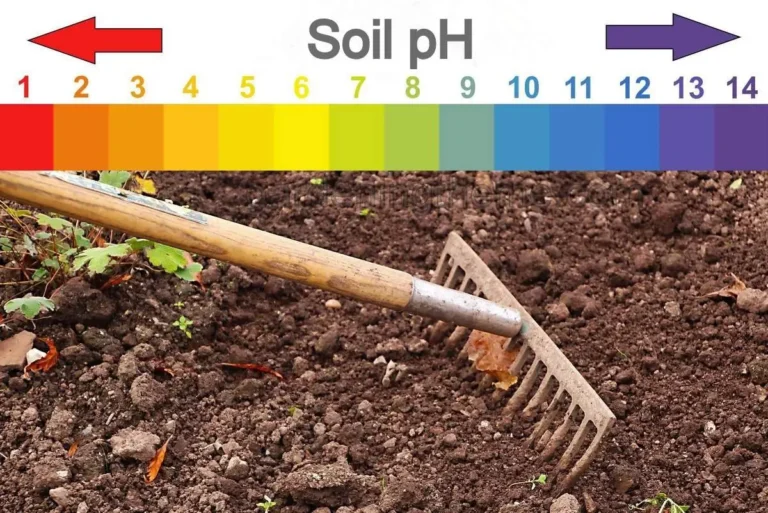
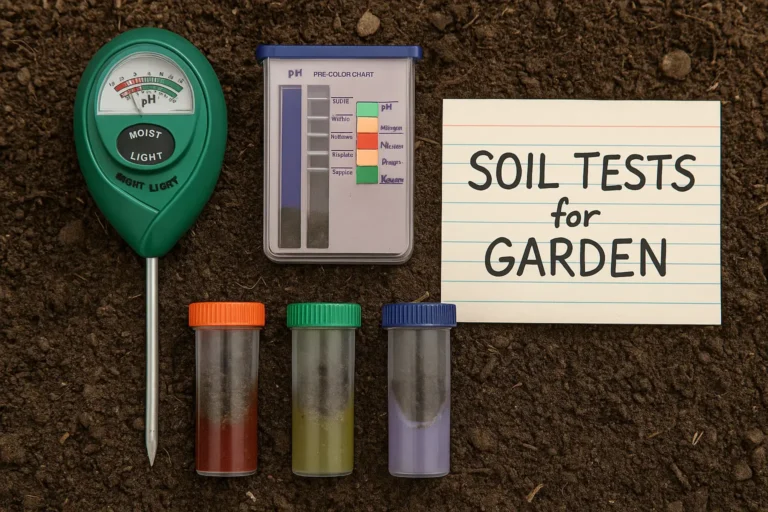
Not Testing Your Soil
While this article provides general guidelines, a professional soil test offers precise information about your soil’s pH, nutrient levels, and composition. This data allows you to make informed decisions about amendments and fertilizers, ensuring your plants receive exactly what they need. It’s an investment that pays dividends in plant health and vigor.
Your Path to a Flourishing Landscape
Calculating, choosing, and applying topsoil might seem like a daunting task at first, but with the right knowledge and a systematic approach, it becomes a manageable and rewarding part of any landscaping project. You’ve now been equipped with the essential formulas, practical tips, and expert insights to confidently tackle your topsoil needs.
Remember, healthy soil is the bedrock of a beautiful and sustainable outdoor space. By investing time in proper planning and execution, you’re not just moving dirt; you’re cultivating a vibrant ecosystem that will bring joy and beauty for years to come. Whether you’re establishing a lush new lawn, creating a bountiful garden, or simply leveling an uneven patch, the principles outlined in this guide will serve as your trusted companion.
So, take a deep breath, measure twice, order once, and get ready to transform your landscape. Your thriving garden awaits!